What is KYVE Protocol Node?
 The KYVE protocol node is the backbone of the KYVE storage collection. They are responsible for collecting data from data sources, merging and uploading it to Web3 storage providers like Arweave, and verifying it. This allows KYVE to store any data stream permanently and in a decentralized manner.
Installation
The minimum specifications to run a protocol node are:
- 2 or more physical CPU cores
- 16 GB RAM
- 512 GB DISK
- 50mbps network bandwidth
Creating an Arweave wallet
Create an Arweave wallet here and then save your keystore in .json format. Make sure you don’t lose it.
Setting up Bundlr wallet
Bundlr requires nodejs to be installed first, using the following command:
sudo apt-get update
sudo apt-get install -y build-essential
curl -sL https://deb.nodesource.com/setup_18.x | sudo -E bash -
sudo apt-get install -y nodejs
Then, check if nodejs was successfully installed with:
node -v
To set up the Bundlr wallet, follow the exact same steps as in Setting up the Arweave wallet. After completing the above steps, the easiest way to set up the Bundlr wallet is to install the Bundlr CLI:
npm install -g @bundlr-network/client
After installation, fund your Bundlr wallet with this command. Please note that you should upload your Arweave keystore (.json) to your VPS root using WinSCP, Mobaxterm, etc.
bundlr fund 1000000000000 -h https://node1.bundlr.network -w arweave.json -c arweave
In this example, I am funding Bundlr with 1 $AR which should be more than enough. To buy Arweave, you can use Binance or Kucoin. After about ~30 minutes, you can check your balance:
bundlr balance replaceyourarweaveaddress -h https://node1.bundlr.network -c arweave
note: please replace your arweave wallet address
Install KYSOR
Install the latest KYSOR binary with:
wget https://github.com/KYVENetwork/kyvejs/releases/download/%40kyve%2Fkysor%401.0.0-beta.21/kysor-linux-x64.zip
unzip kysor-linux-x64.zip
mv kysor-linux-x64 kysor
chmod 700 kysor
rm -f kysor-linux-x64.zip
Tip You can check KYSOR latest binaries here After installation, check the KYSOR version with:
./kysor version
Initialize KYSOR
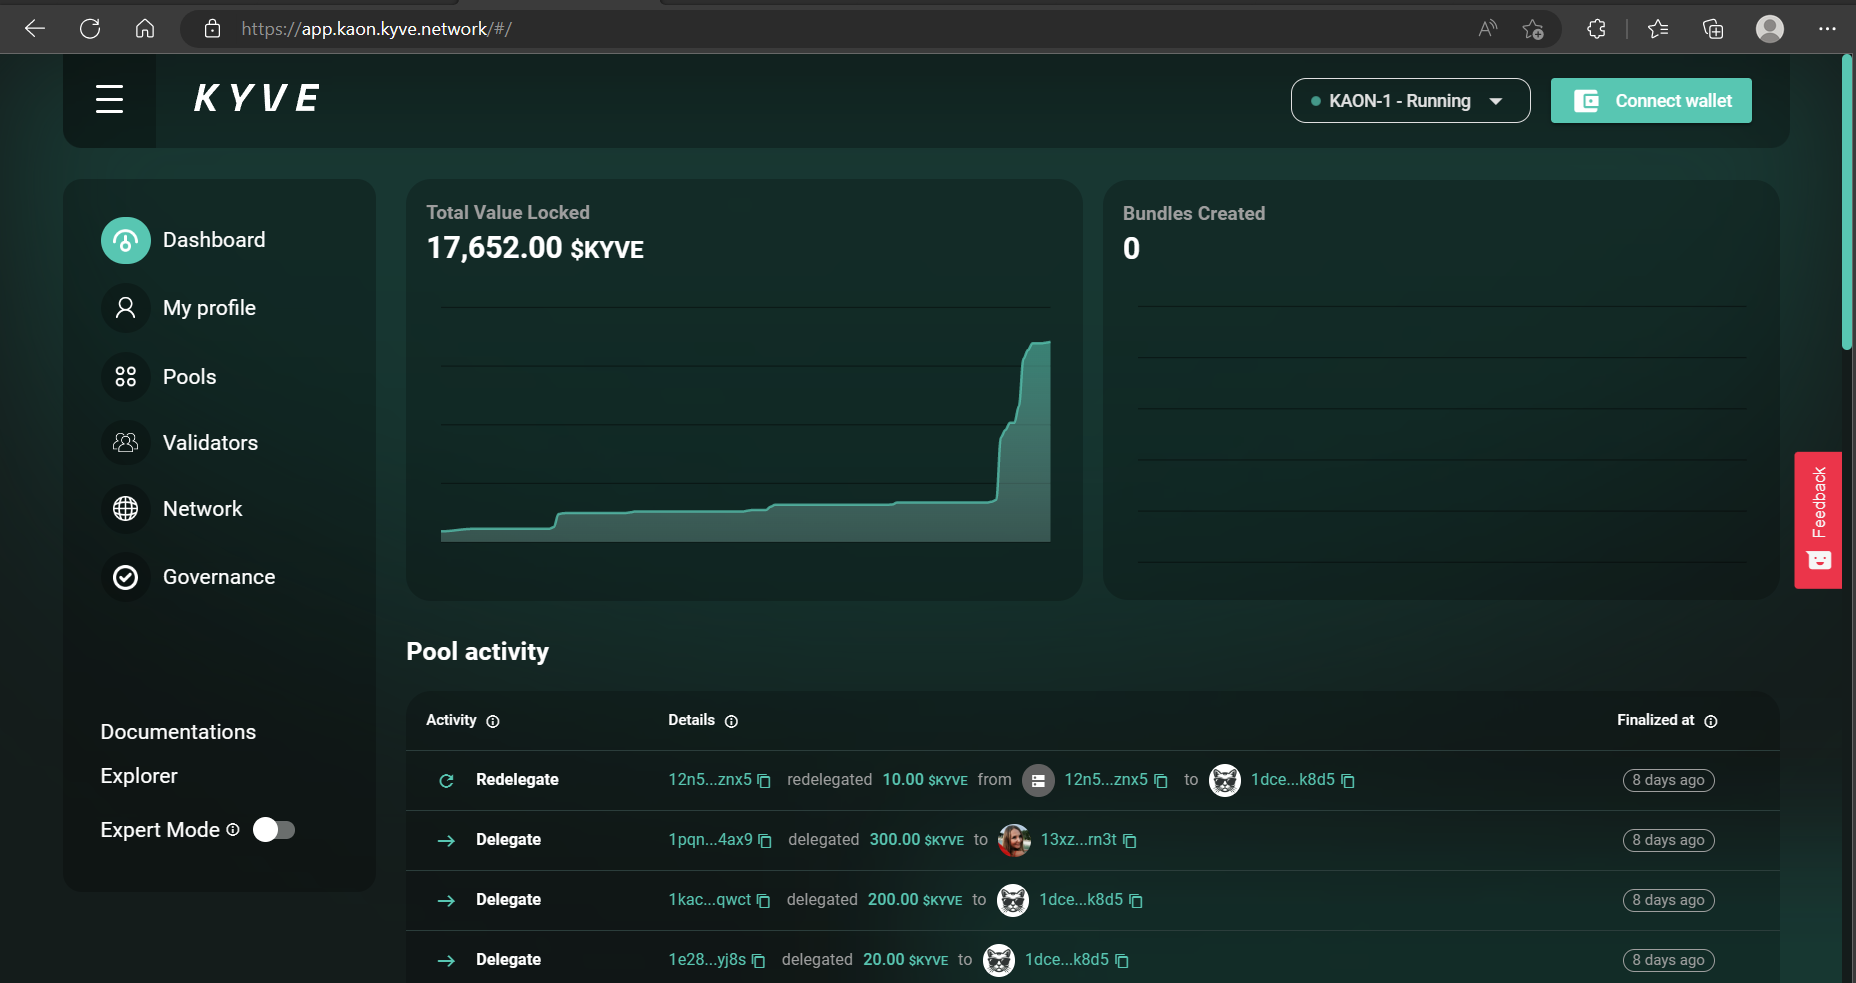
After successful KYSOR installation, it needs to be initialized. This time, I will initialize it on the testnet (KAON) and on the Cosmoshub pool. You can see all available pools at https://app.kaon.kyve.network/#/pools
./kysor init \
--chain-id 'kaon-1' \
--rpc 'https://rpc-eu-1.kaon.kyve.network' \
--rest 'https://api-eu-1.kaon.kyve.network'
Add this command to automatically download the latest Kyve pool binaries:
echo 'autoDownloadBinaries = true' >> ~/.kysor/config.toml
The KYSOR installation will be located in the .kysor folder.
Create a Valaccount
After KYSOR is initialized, we move on to the next step. For each pool you run, a valaccount must be created. A new valaccount with a new mnemonic can be created as follows:
./kysor valaccounts create \
--name 'cosmoshub' \
--pool 0 \
--storage-priv "$(cat /root/arweave.json)" \
--metrics
Please adjust the location of your Arweave keystores here. The above command will create a cosmoshub.toml file under the KYSOR home directory in ~/.kysor/valaccounts/, where all other valaccounts are stored. There you can see your valaccount configuration.
Start Node
Note: For the Cosmoshub pool, we need to create a .env file with the command:
echo 'KYVEJS_TENDERMINT_BSYNC_RPC="https://rpc.atomscan.com/"' > .env
Tip: if the atomscan rpc is inaccessible you can run your own gaia node here then start the node:
./kysor start --valaccount 'cosmoshub' --env-file="/root/.env"
After the node is successfully started, you will see the following log:
2023-02-13 08:46:00.618 INFO Starting node ...
2023-02-13 08:46:00.624 INFO Starting metric server on: http://localhost:8080/metrics
2023-02-13 08:46:00.828 INFO Checking account balance on StorageProvider:Bundlr
2023-02-13 08:46:00.872 INFO Account has available funds on StorageProvider:Bundlr
2023-02-13 08:46:00.873 INFO Chain ID = kyve-kaon
2023-02-13 08:46:00.873 INFO Pool ID = 0
2023-02-13 08:46:00.873 INFO Runtime = @kyvejs/tendermint-bsync
2023-02-13 08:46:00.873 INFO Valaddress = kyve1887l27uwn5r6u9gxw7dg9wt0kqh7uk23suumzc
2023-02-13 08:46:00.873 INFO @kyvejs/tendermint-bsync = v1.0.0-beta.9
2023-02-13 08:46:00.873 INFO @kyvejs/protocol = v1.0.0-beta.14
2023-02-13 08:46:00.876 INFO Valaccount has not joined the pool with id 0 yet
2023-02-13 08:46:00.876 INFO Visit https://app.kyve.network and join the pool from your validator account:
2023-02-13 08:46:00.876 INFO Valaddress: kyve1887l27uwn5r6u9gxw7dg9wt0kqh7uk23suumzc
2023-02-13 08:46:00.876 INFO Valname: causal-chocolate-sparrow
2023-02-13 08:46:00.876 INFO The node will not continue until the account is authorized
Start node with Systemd
The systemd is used for running the kyve node in the background. run this command to setup systemd
tee <<EOF > /dev/null /etc/systemd/system/cosmoshubd.service
[Unit]
Description=KYVE Protocol-Node cosmoshub daemon
After=network-online.target
[Service]
User=root
ExecStart=/root/kysor start --valaccount 'cosmoshub' --env-file="/root/.env"
Restart=on-failure
RestartSec=3
LimitNOFILE=infinity
[Install]
WantedBy=multi-user.target
EOF
Enable KYVE Node Service
To enable KYVE Node Service run this command
systemctl enable cosmoshubd
start the service
systemctl start cosmoshubd
To view the logs
journalctl -fu cosmoshubd -o cat
Congratulations! You are now running a KYVE node protocol. To check your validator status, go to https://app.kaon.kyve.network/#/validators?status=1, connect your wallet, and click Become a Validator in the top right corner. Please fill in the Valaddress and Valname data according to the log that appears on your node.